Connecting to Snowflake
For an overview of the connector, please refer to the following link:- Dashboard
- Local Version
1
Create a Connector
Select the “Connectors” tab on the top page and click the “Create” button.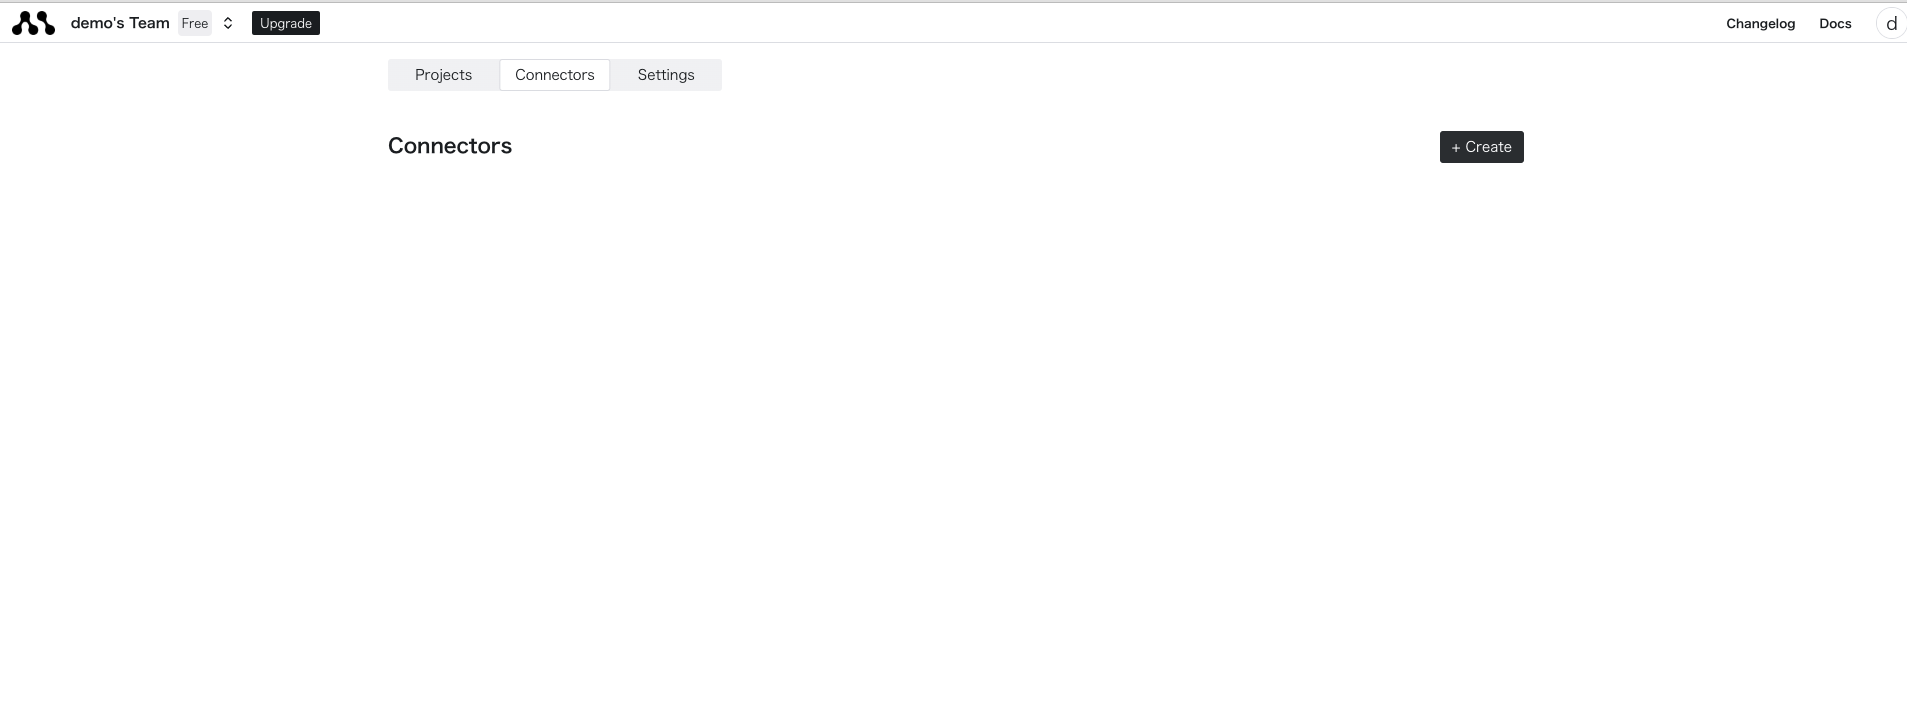
2
Enter Snowflake Credentials
Snowflake offers three authentication methods.Please refer to the official page for the Snowflake Server URL.
Connecting with Private Key
Select Snowflake (Key Pair) and enter the required credentials in the displayed form.Please refer to the official page for creating a private key.
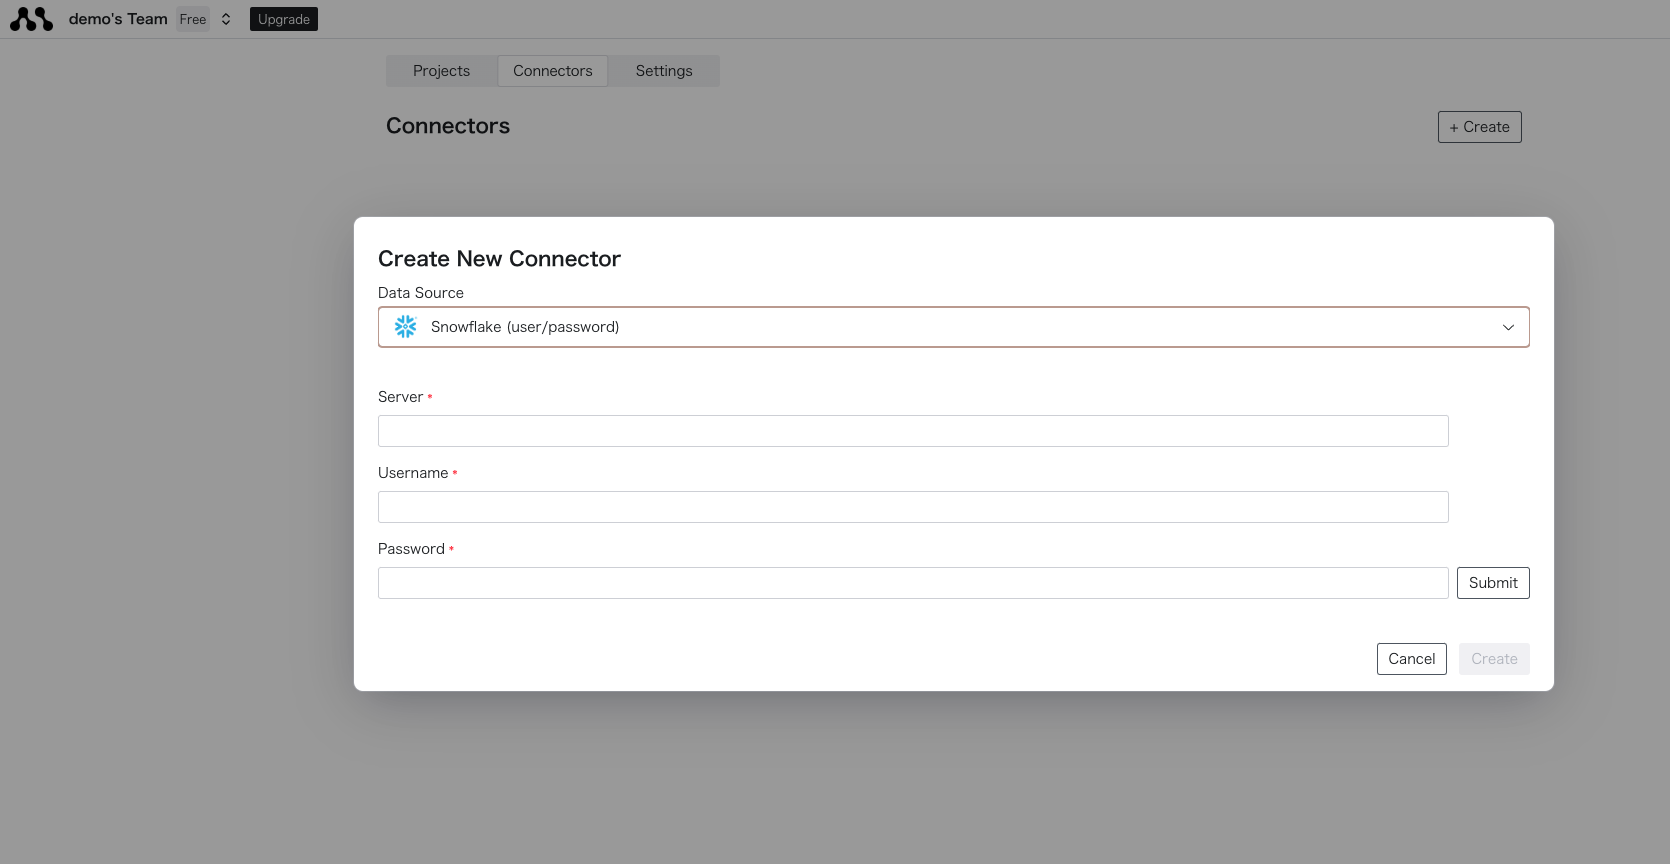
Connecting with User/Password
Select Snowflake (user / password) and enter the required credentials in the displayed form.Connecting with OAuth
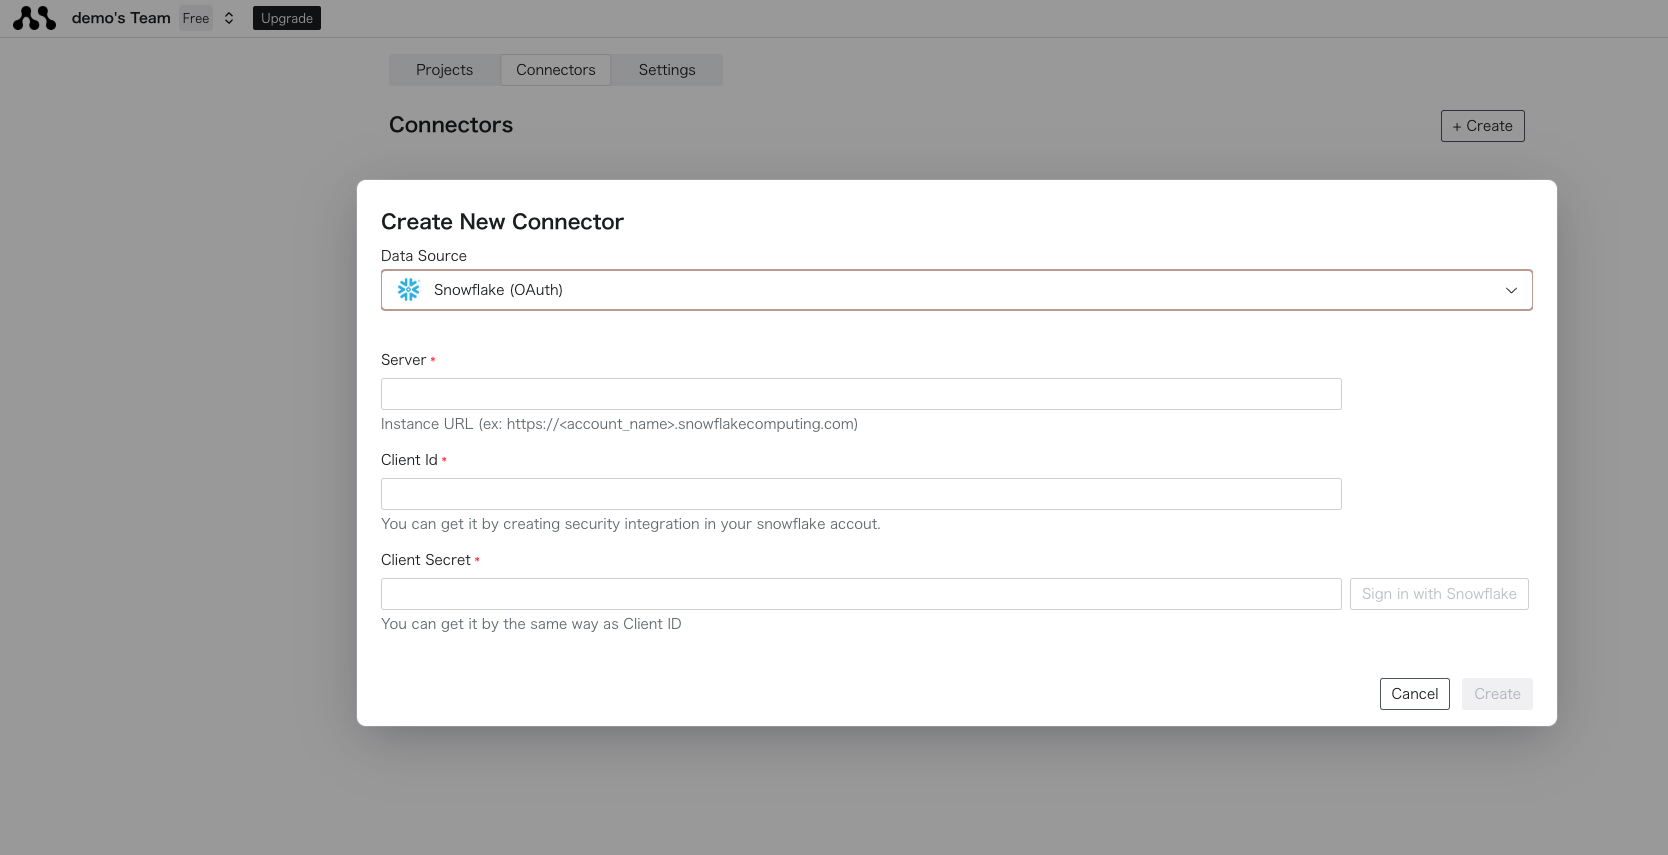
Select Snowflake (OAuth) and enter the required credentials in the displayed form.Please refer to the official page for creating a Client ID and Client Secret.After entering the information, click the Create button to complete the creation. If there are any errors, please check the connection details again.
3
Connect to the Created Database
Once successfully created, you can obtain the connector name from the list display. The string next to the icon is 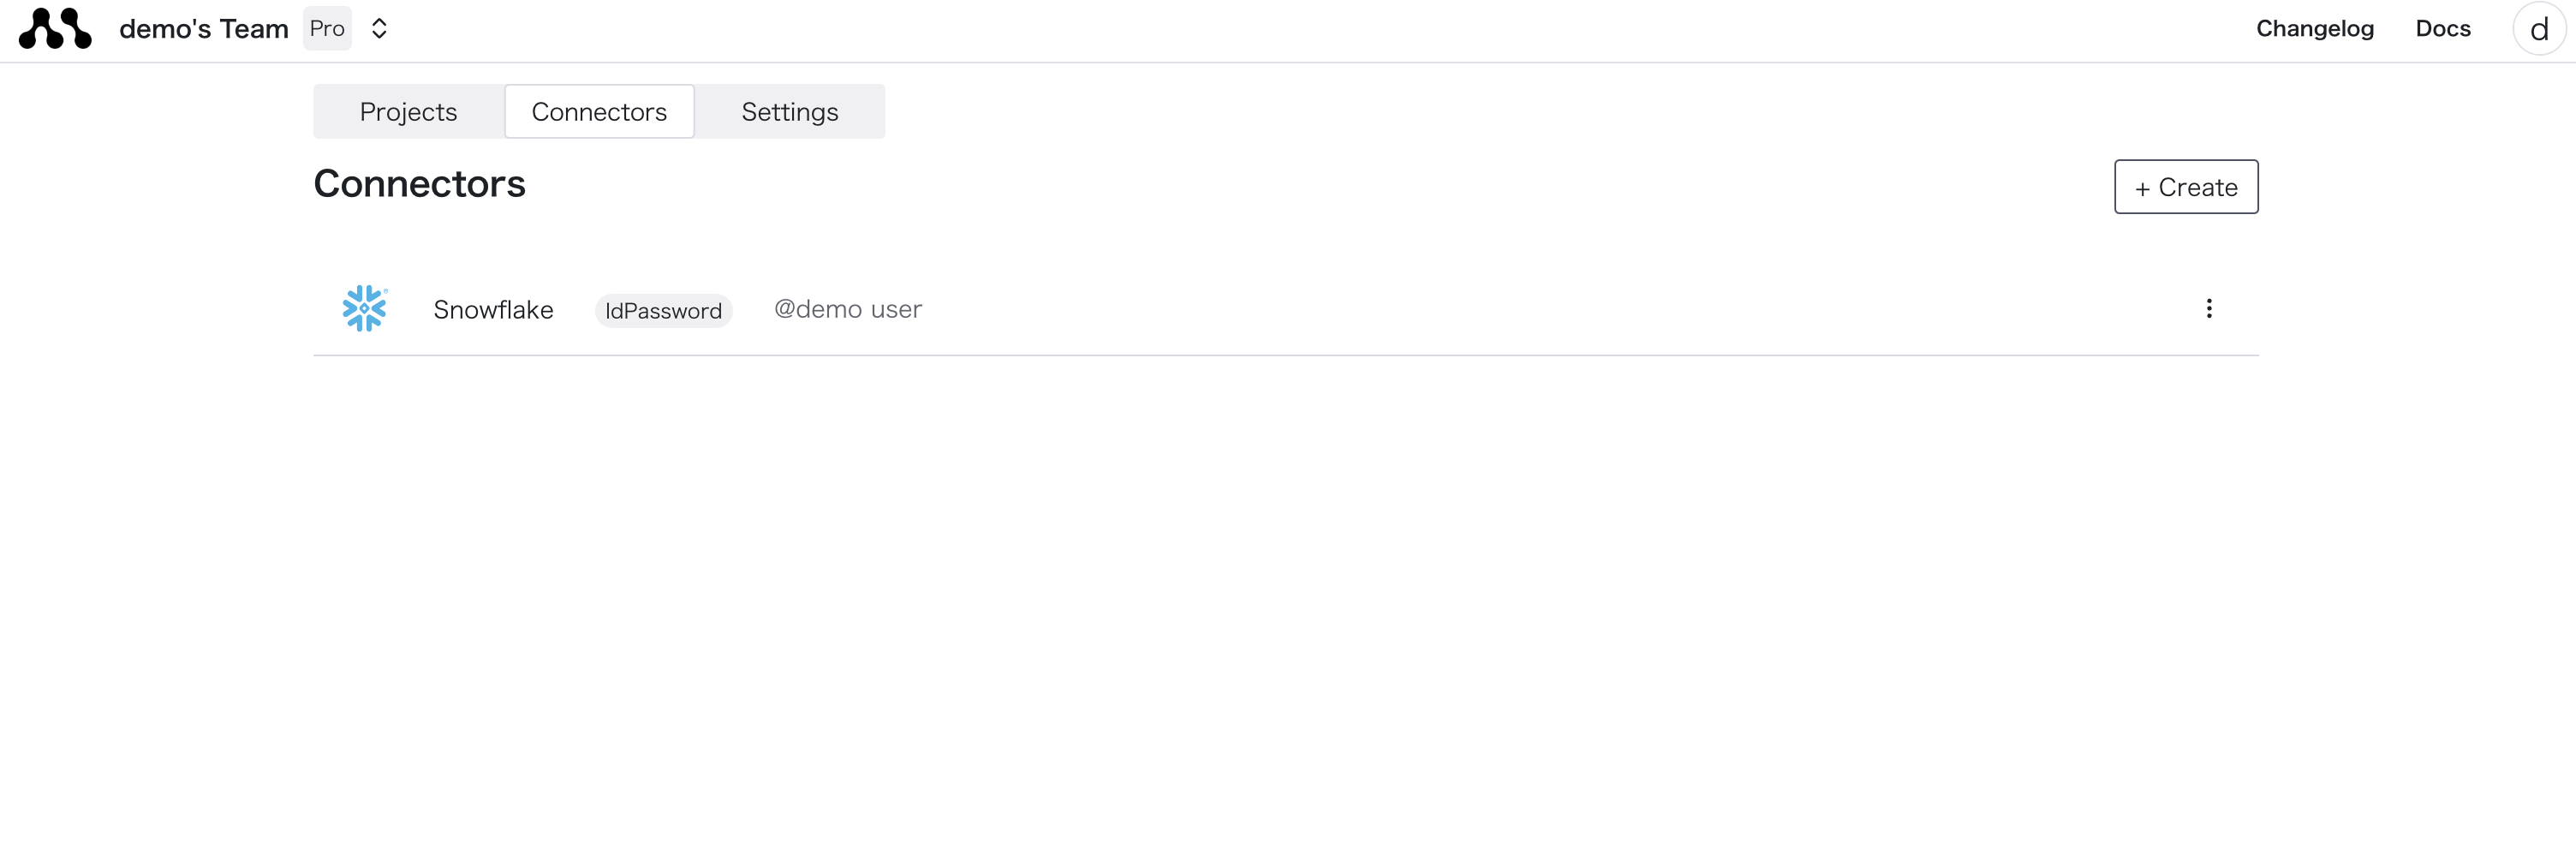
connection_name. You can use this to connect to the database in your code.